As the snow melts and the birds begin to sing, every homeowner starts looking out the window at their lawn. After a long, cold winter, the grass usually looks a little sad. It might be brown, matted down, or covered in stray leaves and twigs. But don’t worry—beneath that sleepy surface, your lawn is waking up and getting ready to grow.
Spring is the most important time for your yard. The work you do in March, April, and May sets the foundation for how your grass will look in the heat of July. You don’t need a degree in botany or an expensive landscaping crew to get that lush, green “golf course” look. You just need a consistent routine and a bit of patience.
In this guide, we are going to break down a simple, step-by-step spring routine. We will cover everything from the first raking to the first mow. By the end of this article, you will have a clear plan to turn your outdoor space into a picture-perfect masterpiece that makes your neighbors stop and stare.
1. The Early Spring Wake-Up Call: Raking
Before you can grow new grass, you have to clear away the old mess. This is the first and most vital step in your routine.
- The Deep Rake: Use a flexible leaf rake to pull up dead grass and debris. This is sometimes called “dethatching.” Thatch is a layer of dead organic matter that sits between the green grass blades and the soil. If it gets too thick, it blocks water and air from reaching the roots.
- Breaking Up Snow Mold: If you see fuzzy, gray, or pink patches on your lawn after the snow melts, that is “snow mold.” A gentle raking will break up these patches, allowing the grass to breathe and the sun to dry out the area.
- The “Wait for Dry” Rule: Never rake your lawn when the soil is still soggy and soft. If you walk on or rake wet soil, you can actually pull the grass out by the roots or “compact” the dirt, making it harder for the lawn to grow later. Wait until the ground is firm enough to walk on without leaving footprints.
2. Assessing the Damage: The Yard Clean Up
Once the lawn is raked, it’s time for a general yard clean up to ensure your exterior makeover looks its best. Winter is tough on a property, and small chores can add up to a big visual difference.
- Debris Removal: Pick up fallen branches, pinecones, and stones that may have surfaced during the freeze-and-thaw cycle. These items aren’t just ugly; they can damage your lawnmower blades or become dangerous projectiles when you start mowing.
- Check the Edges: Look at where your lawn meets your driveway or sidewalk. Winter salt and snowplows often damage these edges. Clear away any built-up sand or salt, as these can “burn” the grass and prevent it from turning green.
- Repair the Dog Spots: If you have pets, you might see yellow or brown circles where they did their business over the winter. Flush these areas with plenty of water to dilute the nitrogen in the soil before you try to replant.
3. Soil Testing: Knowing What Your Grass Needs
Many people run to the store and buy the biggest bag of fertilizer they can find as soon as the sun comes out. This is a mistake. Adding chemicals without knowing your soil’s “health” is like taking medicine without knowing if you are sick.
- The pH Test: You can buy a simple soil test kit at any hardware store or send a sample to a local university extension office. The test will tell you the pH level of your soil. Most grass loves a pH between 6.0 and 7.0.
- The “Lime” Factor: If your soil is too acidic (a low pH), the grass can’t “eat” the nutrients in the soil. Adding “pelletized lime” can help balance the pH so your fertilizer actually works.
- Customized Feeding: The test will also tell you if you are low on nitrogen, phosphorus, or potassium. Buying the right fertilizer instead of the most expensive one will save you money and protect the environment.
4. Aeration: Letting the Lawn Breathe
Over time, soil gets packed down hard, especially in areas where kids play or dogs run. This is called “compaction.” When soil is compacted, the roots can’t grow deep, and water just runs off the surface instead of soaking in.
- Core Aeration: This involves using a machine that pulls small “plugs” of dirt out of the ground. It looks like a mess at first (your lawn will be covered in little dirt tubes), but it is the best thing you can do for a struggling yard.
- The Benefits: Aeration allows oxygen, water, and fertilizer to go directly to the “heart” of the lawn. It encourages the roots to grow deep into the ground, which makes the grass much stronger during summer droughts.
- When to Do It: Early spring is a great time to aerate, just as the grass is starting its “growth spurt.”
5. Over-Seeding: Thickening the Carpet
If your lawn looks thin or has bare patches, spring is a great time to add new life. A “thick” lawn is your best defense against weeds, because the grass will simply crowd out the unwanted plants.
- Choose the Right Seed: Look at your yard. Is it mostly sunny, or is it under a big shade tree? Buy a seed mix that matches your specific light conditions.
- The “Seed-to-Soil” Contact: Seed won’t grow if it just sits on top of dead grass or thatch. This is why raking and aerating are so important—they create “pockets” for the seed to land in.
- Keep it Moist: Newly planted seed is like a baby; it needs constant attention. You must water the seeded areas lightly every single day (sometimes twice a day) until the new grass is about two inches tall. If the seed dries out, it dies.
6. The First Feed: Fertilizing with Care
In the spring, grass needs energy to grow new blades and strengthen its roots.
- Wait for the Green: Don’t fertilize too early. If you put down fertilizer while the grass is still brown and dormant, you are just feeding the weeds. Wait until the grass is about 50% green before you give it its first meal.
- Pre-Emergent Weed Control: If you struggle with crabgrass every year, look for a “Step 1” fertilizer that contains a pre-emergent. This creates a “shield” on the soil that stops weed seeds from sprouting.
- Important Note: If you are planting new grass seed (over-seeding), do not use a standard pre-emergent. It can’t tell the difference between a weed seed and a grass seed, and it will stop your new lawn from growing! Look for a special “Starter Fertilizer” that is safe for new seeds.
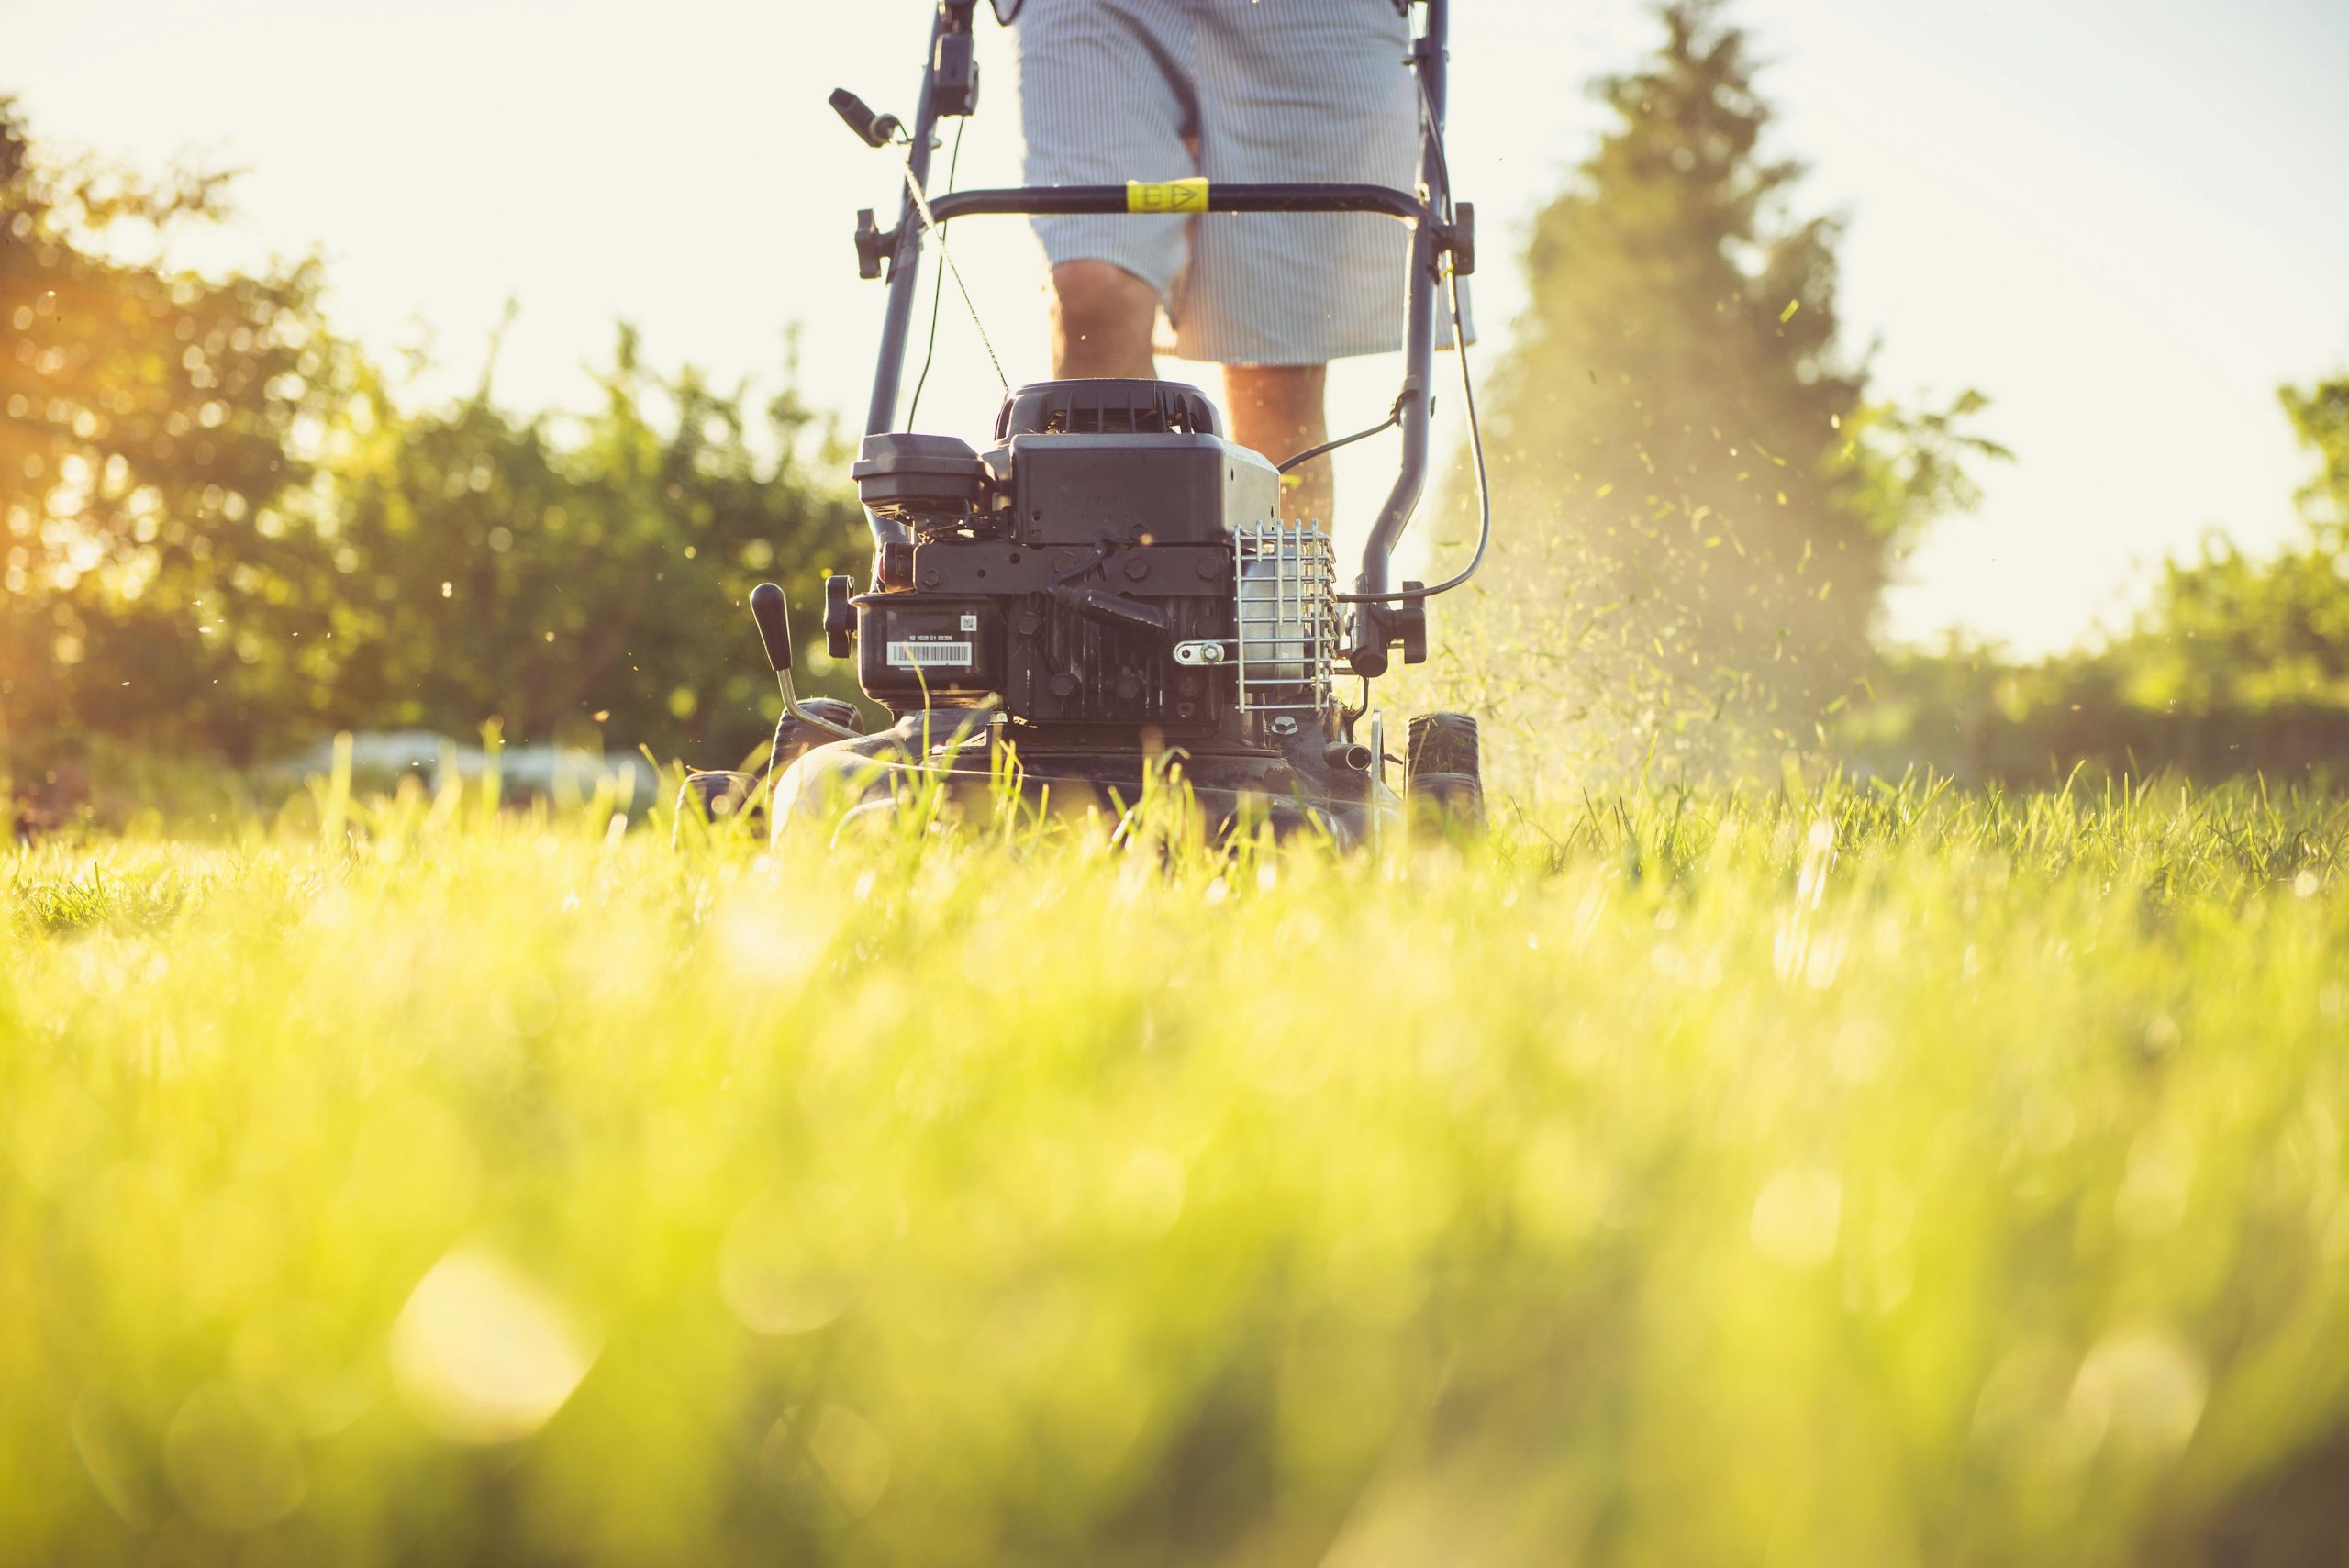
7. The Art of the First Mow
When the grass finally starts growing, it’s tempting to cut it short so you don’t have to do it again for a while. Resist that urge!
- Sharpen Your Blades: Before the first mow of the season, take your mower blade to a local shop to be sharpened. A dull blade “tears” the grass, leaving it with ragged, brown edges that are prone to disease. A sharp blade “cuts” the grass cleanly.
- The One-Third Rule: Never cut off more than one-third of the grass blade at one time. If your grass is 3 inches tall, don’t cut it shorter than 2 inches. Cutting too much at once “shocks” the plant and stops root growth.
- Mow High: Set your mower to its highest setting (usually 3 to 4 inches). Taller grass shades the soil, which keeps it cool and prevents weed seeds from getting the sunlight they need to sprout.
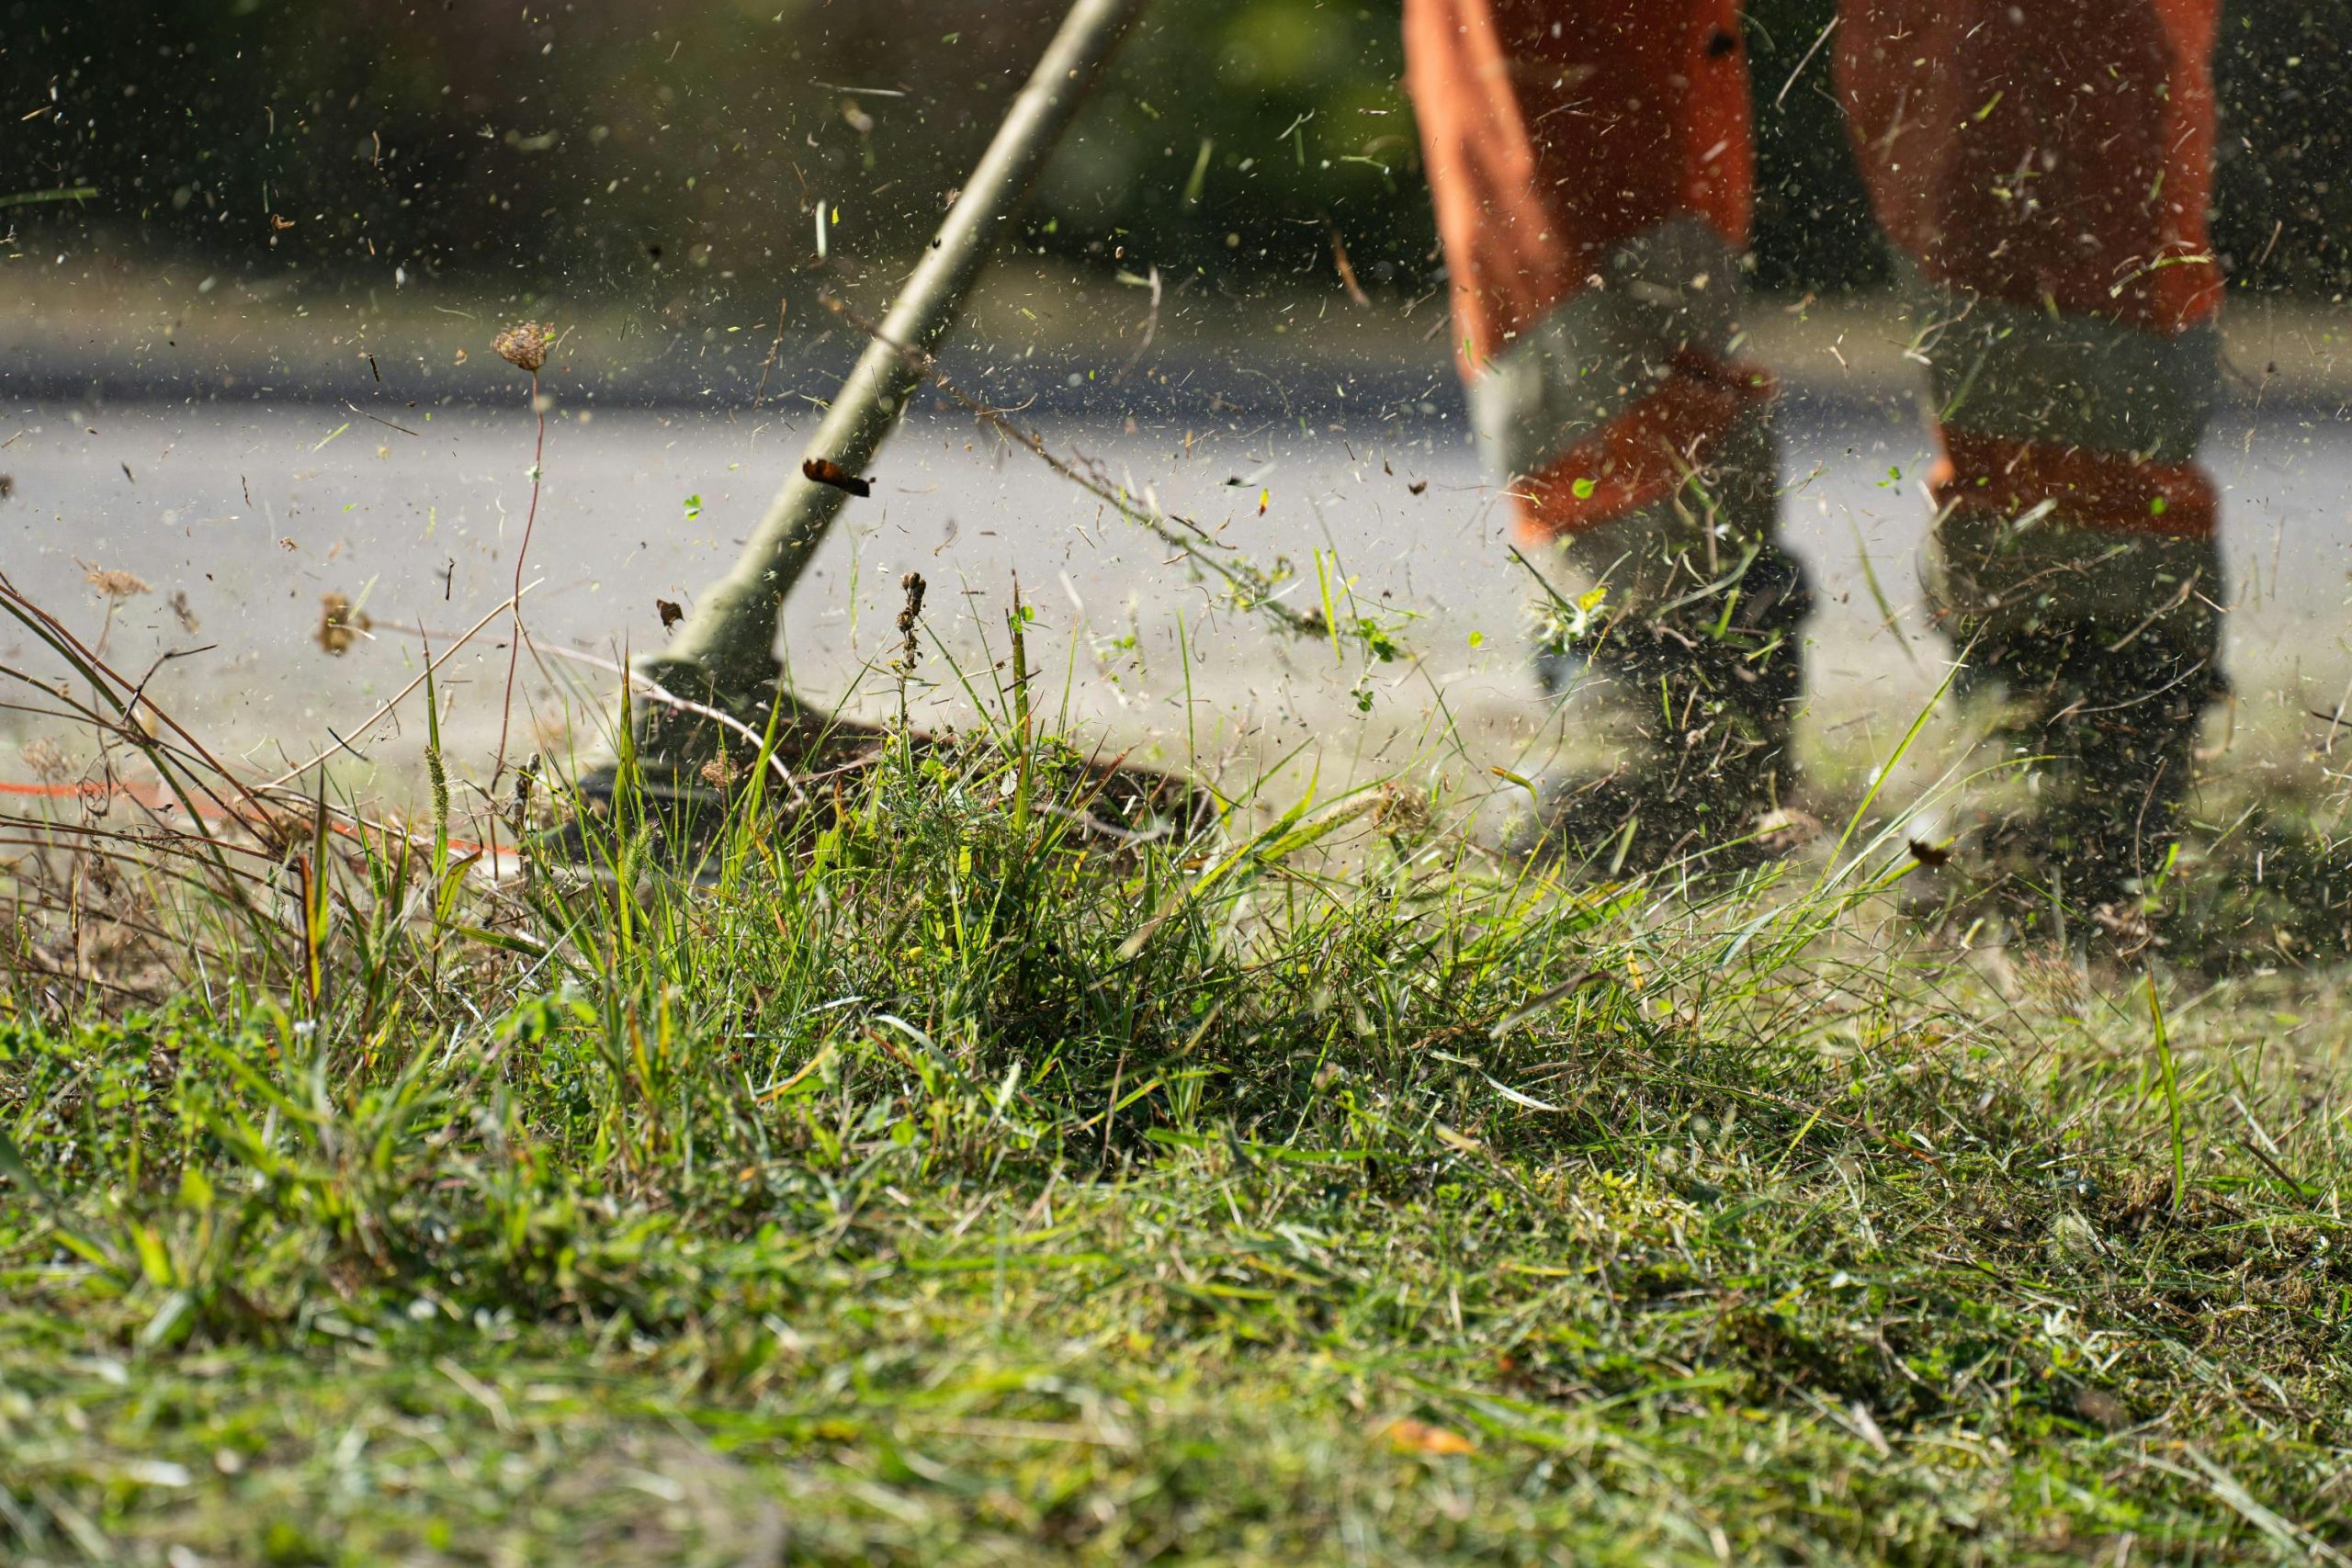
8. Dealing with Spring Weeds
Even with a great routine, a few weeds like dandelions or clover might pop up.
- Spot Treatment: Instead of spraying your whole lawn with chemicals, try “spot treating” only the weeds you see. This is better for your pets, your kids, and the local bees.
- The “Pull” Method: For dandelions, a simple manual weeding tool is often the best fix. If you can pull the “taproot” (the long, carrot-like root) out of the ground, the weed is gone for good.
- Clover is Okay: Many homeowners are now embracing a bit of clover in their lawn. Clover stays green in the heat, needs less water, and actually adds nitrogen (natural fertilizer) back into the soil.
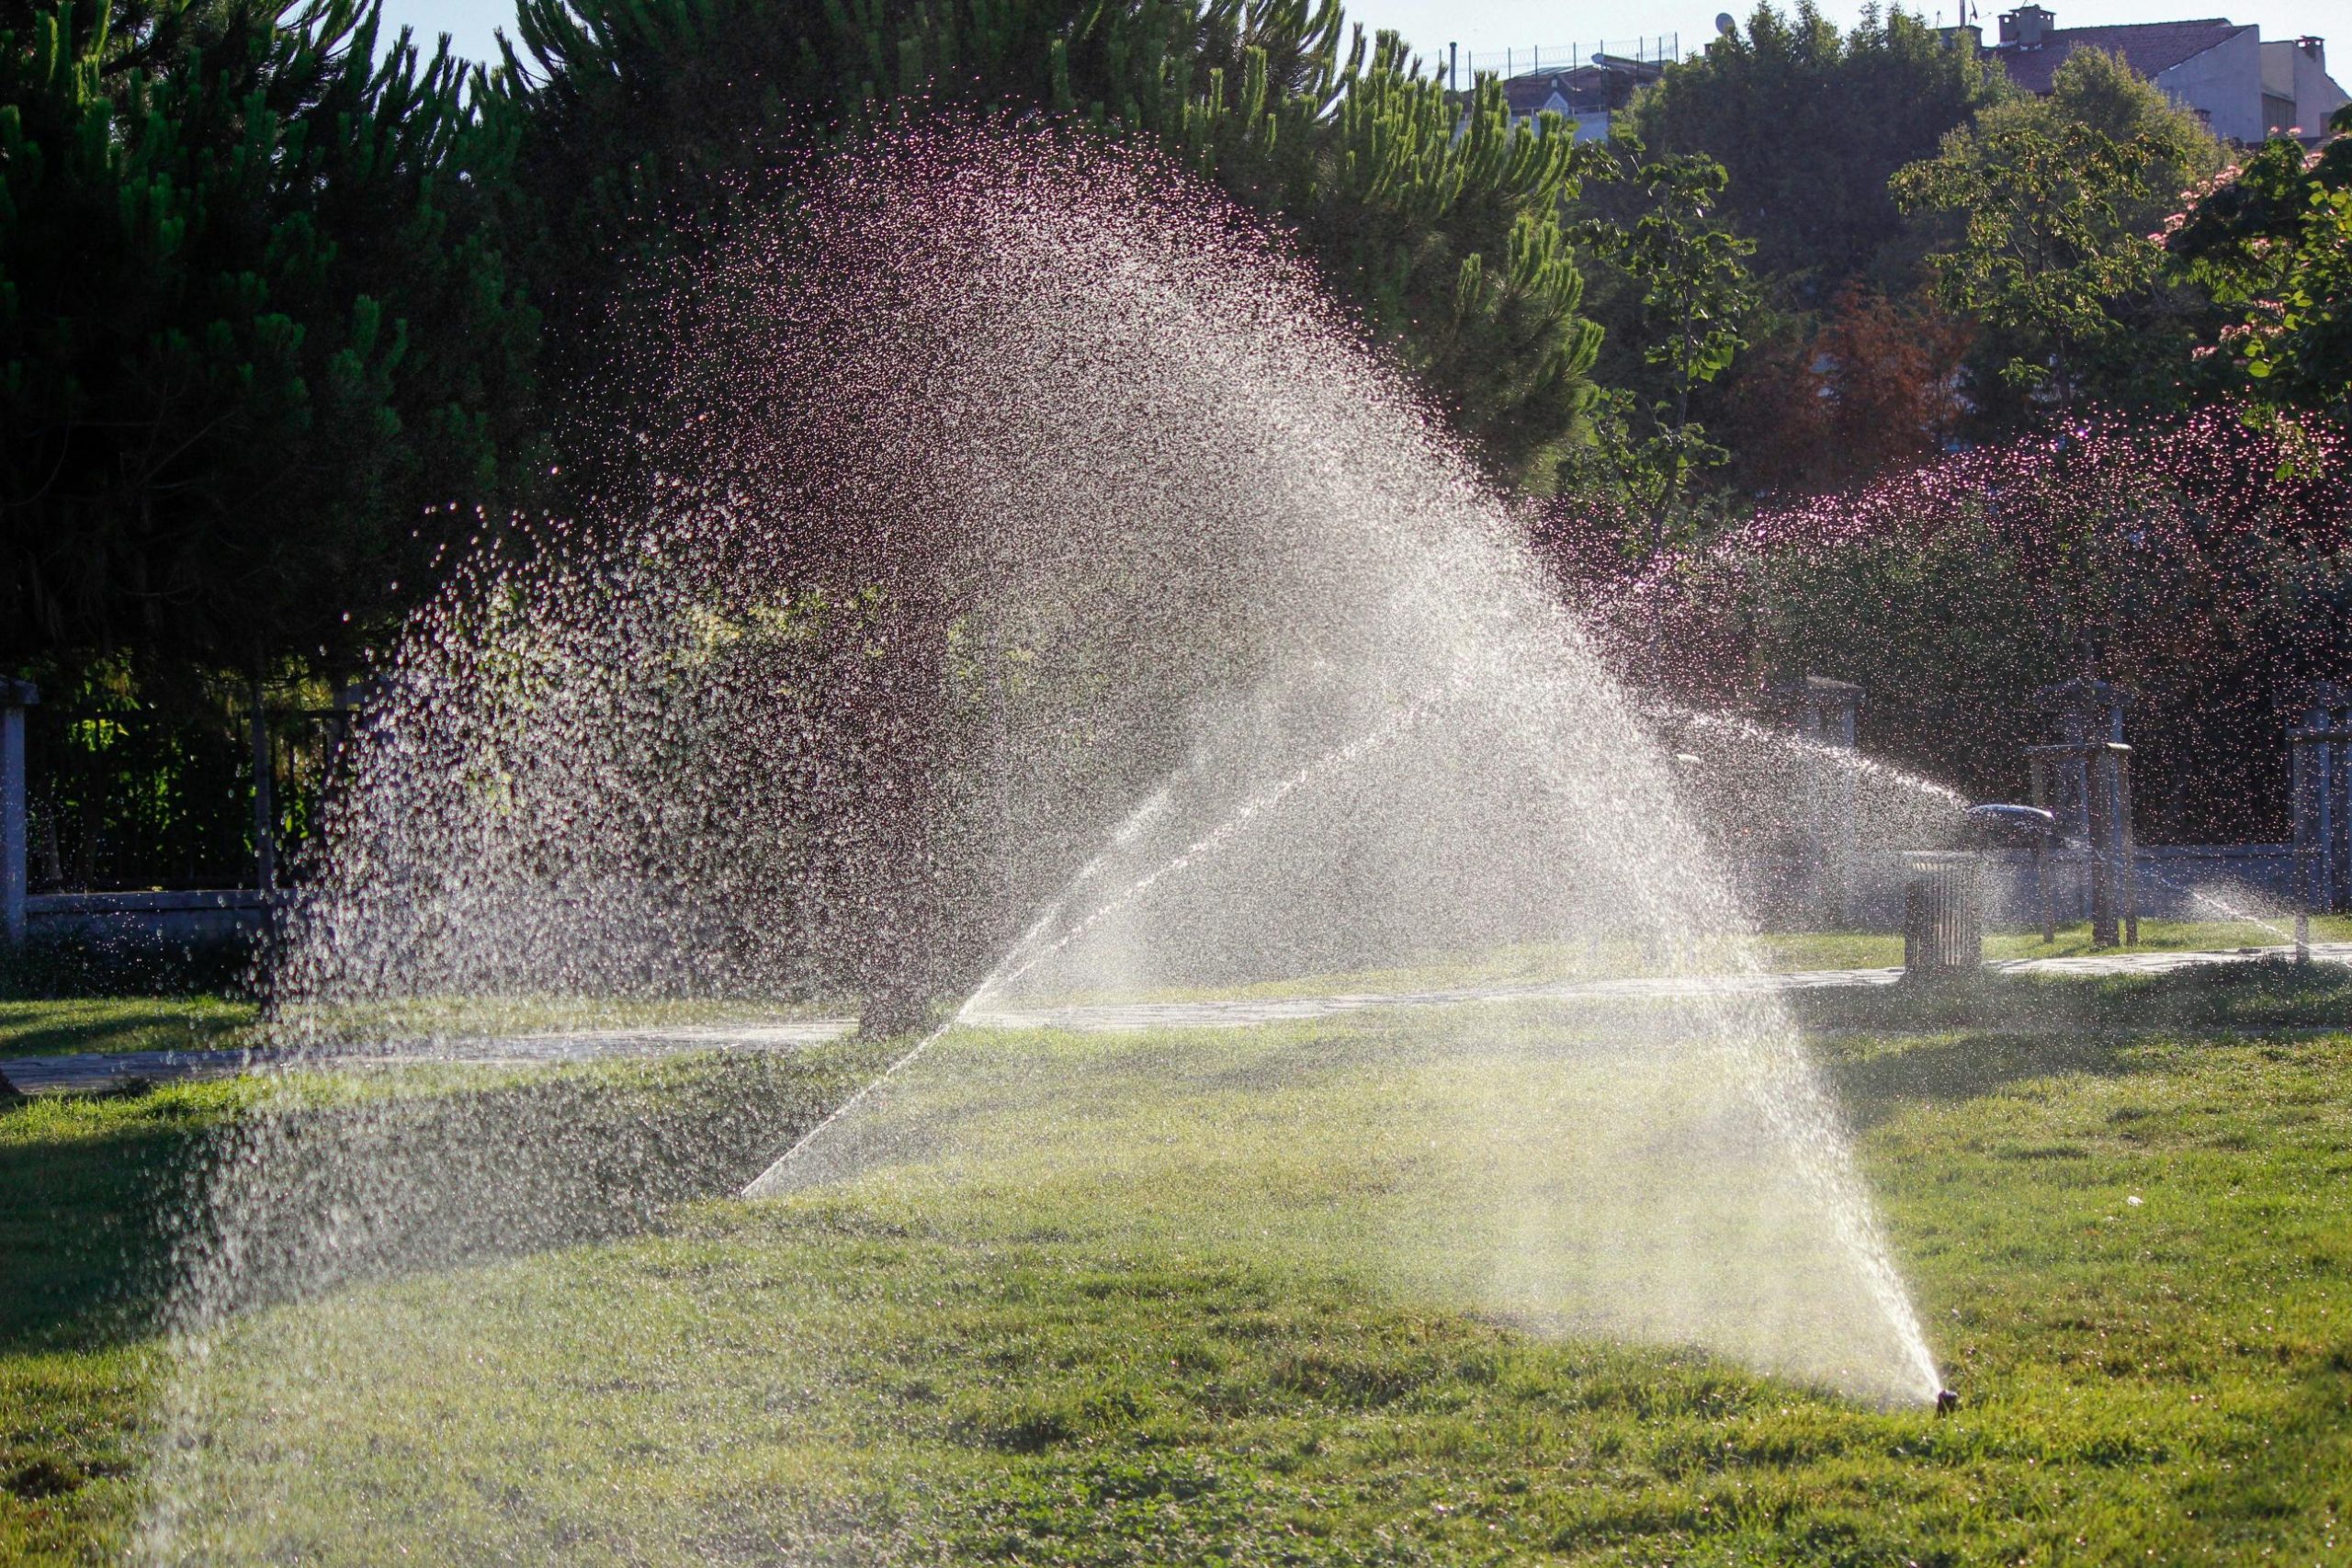
9. Watering: Quality Over Quantity
In the spring, nature usually does a lot of the watering for you. But as the weather warms up, you might need to step in.
- The Deep Soak: It is much better to water your lawn deeply once or twice a week than to give it a light “sprinkle” every day. You want the water to soak 6 inches deep into the soil.
- Early Bird Gets the Worm: The best time to water is early in the morning (between 5 AM and 9 AM). This allows the grass blades to dry off during the day. If you water at night, the grass stays wet for 10 hours, which can lead to fungus and mold problems.
10. Consistency is Key
The most important part of a picture-perfect yard isn’t a “magic” product; it’s being consistent. Spend 15 minutes every Saturday walking your lawn. Look for new weeds, check for dry spots, and make sure your mower is running smoothly.
A lawn is a living thing. If you treat it with respect and follow these simple steps, it will reward you with a soft, green carpet that serves as the perfect backdrop for your family’s summer memories.
Conclusion
Creating a beautiful exterior doesn’t have to be a mystery. By following this simple spring routine—starting with a deep rake and ending with a sharp-bladed mow—you can take control of your property’s curb appeal.
Remember: don’t rush the process. Let the soil dry out before you rake, let the grass wake up before you fertilize, and always keep your mower height high. With a little bit of work now, you can spend the rest of the year relaxing in your own personal park.
Your lawn is the “welcome mat” of your home. Make sure it’s a green one!